Install
Rancher Turtles is a Rancher extension which means that you must have Rancher installed before you can get started with Rancher Turtles.
|
If you don’t have Rancher installed yet, make sure to follow one of the official installation guides. We recommend you take a look at the Prerequisites table to determine the appropriate version to install. |
Prerequisites
Before you can install Rancher Turtles, you need to have the following components installed:
| Name | Version | Details |
|---|---|---|
Kubernetes cluster |
|
|
Helm |
|
Follow the official installation docs |
Rancher |
|
Install using Helm on any Kubernetes cluster, whether self-hosted or on a managed service from Amazon, Azure, or Google. |
Cert-manager |
|
Using Helm based installation or via kubectl apply. |
Components Versions
This table lists the version of the components installed with the latest version v0.24.0 of Rancher Turtles:
|
If you’re customizing the installation parameters, please make sure that you are using compatible versions of the components. |
| Name | Version |
|---|---|
Cluster API |
|
Cluster API Provider RKE2 |
|
Install Rancher Turtles using Rancher Dashboard
This is the recommended option for installing Rancher Turtles.
Via Rancher UI, and just by adding the Turtles repository, we can easily let Rancher take care of the installation and configuration of the Cluster API Extension.
Installing Rancher Turtles will transform your Rancher Manager cluster into a CAPI Management cluster so you can provision and manage CAPI workload clusters.
|
Rancher’s The recommended way to disable this feature and the Rancher-specific webhooks, is to use the official Rancher Turtles Helm chart, that includes a
|
Installation
-
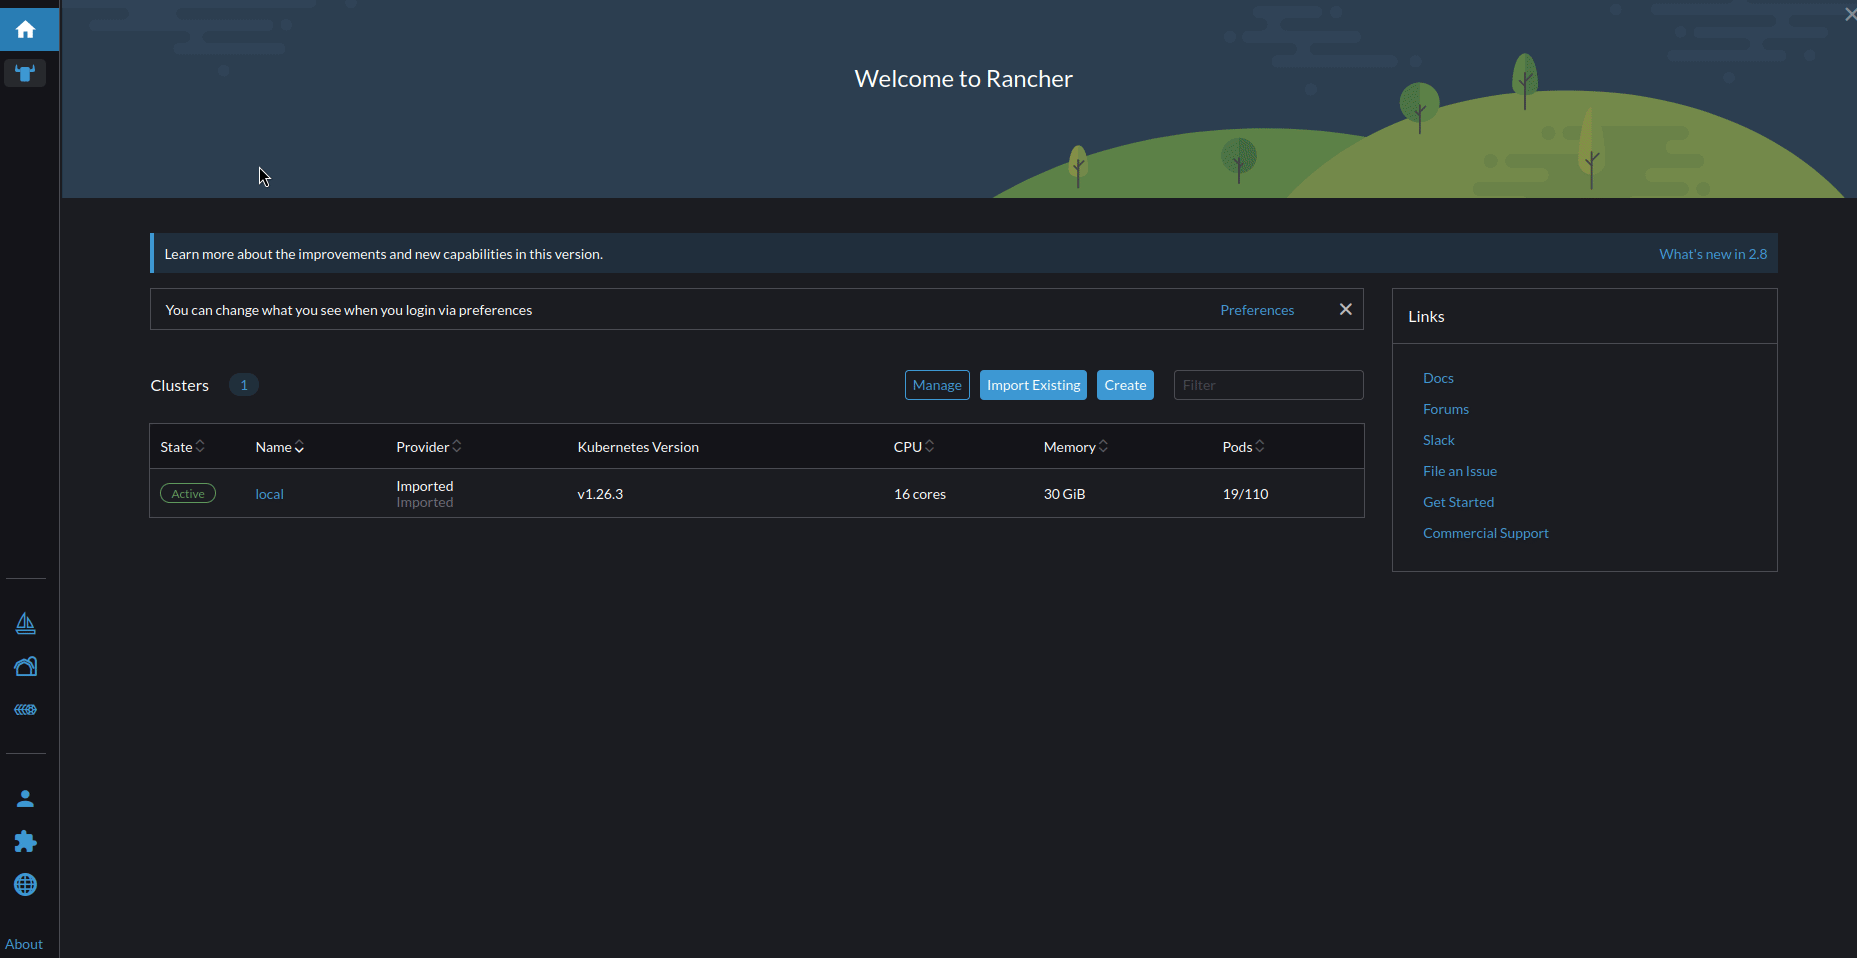
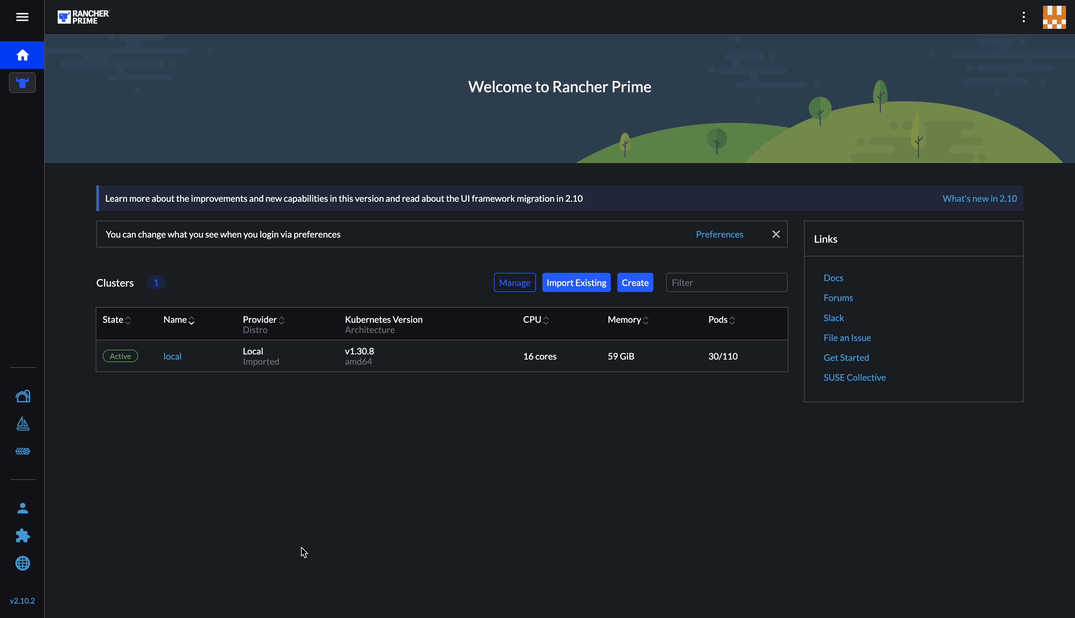
From your browser, access Rancher Manager and explore the local cluster.
-
Using the left navigation panel, go to
Apps->Repositories. -
Click
Createto add a new repository. -
Enter the following:
-
Name:
turtles. -
Index URL: https://rancher.github.io/turtles.
-
-
Wait for the
turtlesrepository to have a status ofActive. -
Go to
Apps->Charts. -
Filter for
turtles. -
Click
Rancher Turtles - the Cluster API Extension -
Click
Install->Next->Install.
|
Rancher will select not to install Turtles into a Project by default. Installing Turtles into a Project is not supported and the default configuration |
This will use the default values for the Helm chart, which are good for most installations. If your configuration requires overriding some of these defaults, you can either specify the values during installation from Rancher UI or, alternatively, you can opt for the manual installation via Helm. And, if you are interested on learning more about the available values, you can check the reference guide.
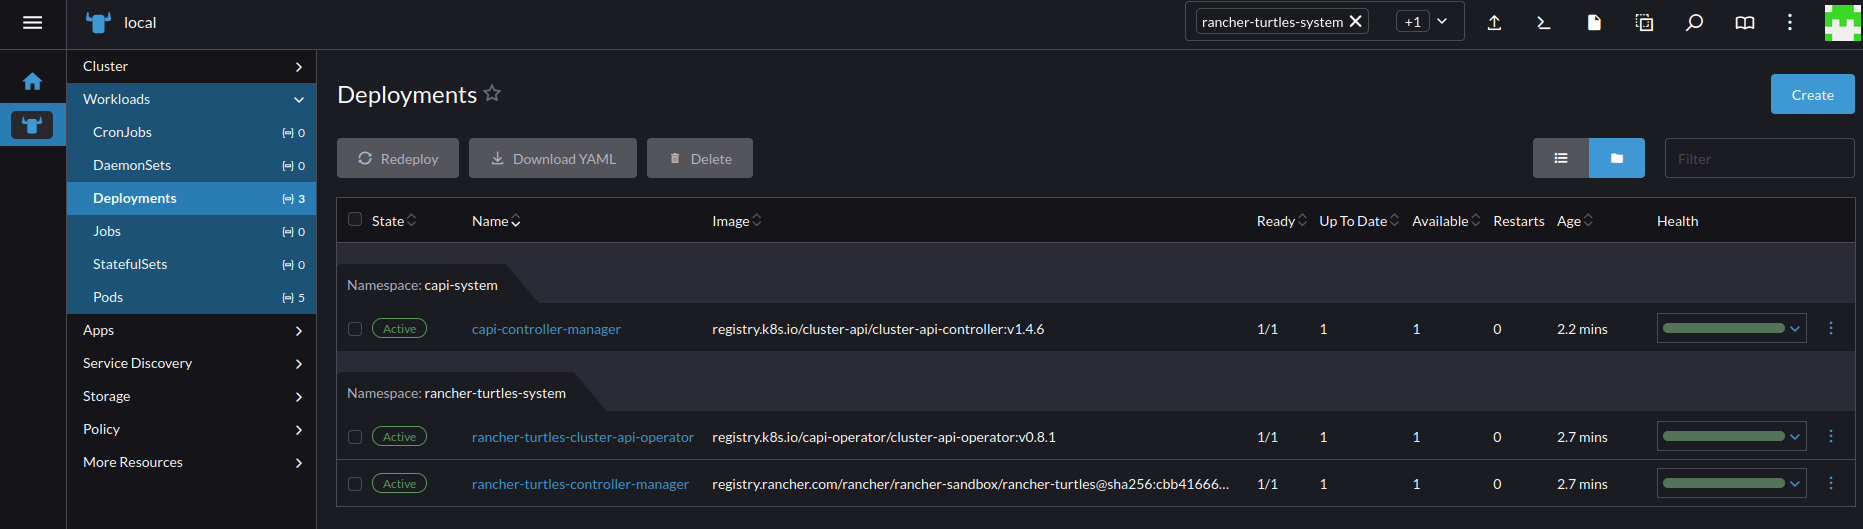
The installation may take a few minutes and, when it finishes, you will be able to see the following new deployments in the cluster:
-
capi-system/capi-controller-manager -
cattle-turtles-system/caapf-controller-manager -
cattle-turtles-system/rancher-turtles-controller-manager -
rke2-bootstrap-system/rke2-bootstrap-controller-manager -
rke2-control-plane-system/rke2-control-plane-controller-manager
CAPI UI extension installation
Rancher also provides a UI extension that makes it easy to manage CAPI providers, create CAPI clusters and view CAPI related resources via the Rancher Dashboard. Installing the CAPI UI extension is similar to installing Turtles.
|
Installing Turtles prior to installing the CAPI UI extension is recommended. |
-
From your browser, access Rancher Manager and navigate to the
Extensionspage. -
Using the three dots menu located at the top right, select
Manage Repositories. This should open theRepositoriespage for the local cluster. -
Click
Createto add a new repository. -
Enter the following:
-
Name:
capi-ui. -
Target: http(s) URL to an index generated by Helm
-
Index URL: https://rancher.github.io/capi-ui-extension.
-
-
Click
Create. -
Wait for the
capi-uirepository to have a status ofActive. -
Go to
Extensions->Available. -
Find the
CAPI UIcard and click on itsInstallbutton. -
Select the version to install (default is the latest) and click
Install. -
Once the extension is installed, click on the
Reloadbutton at the top of the page to reload the page. -
The CAPI UI extension is now installed. You can navigate to
Cluster Management->CAPIto start using it.
Install Rancher Turtles using cli (development/experimental)
For users who prefer a streamlined command-line installation process, Rancher Manager with Rancher Turtles can be installed using the turtles-quickstart.sh script.
This installation method provides a fast way to get Rancher Manager and Turtles without doing too many manual steps.
Using the quickstart script
-
Ensure you have installed on your system
kubectl,kind,helmand runningdockerdaemon. -
Download the script from Rancher Turtles github repository:
curl -fsSL https://raw.githubusercontent.com/rancher/turtles/main/scripts/turtles-quickstart.sh -o turtles-quickstart.sh -
Run
turtles-quickstart.shscript:bash ./turtles-quickstart.sh -
Wait until the script completes - this may take a few minutes while all components are installed
The script will:
-
Verify that your cluster meets the prerequisites
-
Add the Rancher and Turtles Helm repository
-
Install Rancher Turtles with default configuration
-
Display status information when complete
-
Create new example downstream cluster using CAPI Docker Provider